How to Build a Hot Compost Heap in a Small Garden
You do not need an allotment to make compost quickly. A bin of roughly a cubic metre — about the size of a bulky armchair — can reach 60°C within a few days and give you usable compost in two or three months rather than a year. Heat is generated by the material itself, so the container matters less than what goes in and how you layer it. Get the mix right and the middle of the heap does most of the work.
Size, siting and insulation
Heat comes from microbes. Bacteria and fungi break down soft green material and release warmth as they work. For that warmth to build instead of escaping, you need mass: the classic minimum is a heap about a metre wide, a metre deep and a metre high.
A 200–300 litre bin can still hit high temperatures if you site it in full sun, shelter it from wind, and insulate the sides with cardboard or straw bales. Sit the bin on bare soil so worms and microbes can move up from below. If the base is solid, drill drainage holes and begin with a 10cm layer of coarse twigs.
Greens and browns: the balance that makes heat
Greens are wet and nitrogen-rich. Browns are dry and carbon-rich. The microbes need both, along with air and water. A reliable rule by volume is two to three parts browns to one part greens.
Greens
- Grass clippings, spread in thin layers rather than dumped in a mat
- Vegetable peelings, fruit scraps and tea leaves
- Coffee grounds, spent bedding plants and annual weeds before they set seed
- Comfrey and nettle leaves, which break down fast
Browns
- Shredded cardboard, torn newspaper, egg boxes and toilet-roll tubes
- Straw, dry autumn leaves and small prunings
- Woodchip and sawdust, used sparingly
- Dead plant stems and spent hanging-basket contents
Squeeze a handful of the mix. It should feel like a wrung-out sponge and smell faintly of earth or mushrooms. If it drips, add browns. If it crumbles, add greens and a little water. Leave out cooked food, meat, dairy, pet faeces and perennial weeds such as bindweed and couch grass — their roots survive most home heaps.
Building the heap, layer by layer
- Chop everything. Pieces the size of your thumb rot far faster than whole stems. Run a spade over prunings or use secateurs.
- Start with a coarse base. Spread 10–15cm of twiggy prunings and scrunched cardboard across the bottom for drainage and airflow.
- Add greens. A 5–10cm layer is enough. Thick layers of grass clippings turn to slime.
- Cover with browns. Follow with 10–15cm of shredded card, straw or leaves.
- Water as you go. Damp, not soaked. Dry layers stall the whole heap.
- Add a microbial starter. Scatter a couple of handfuls of garden soil or finished compost every few layers.
- Repeat until full, finishing with a brown layer and a lid to keep flies and rain out.
Do not compact the heap or stand on it. Air is as important as water, and a squashed heap turns anaerobic and sour.
Turning, temperature and troubleshooting
Within two to four days the centre should heat up. A compost thermometer pushed 30–45cm in is the simplest check, and 55–65°C is the sweet spot. Without one, push a metal rod into the middle, leave it for ten minutes and feel it — warm or hot means it is working.
Turn when the temperature drops, usually after four to seven days. Fork the outside to the middle and the middle to the outside, water if it is dry, and rebuild. Each turn should produce another heat spike. Two or three turns over a month is plenty, then leave it to finish and cure.
- Nothing happening: too dry or too brown. Add greens, water and turn.
- Slimy and sour: too many greens or too wet. Mix in shredded cardboard and turn.
- Smell of ammonia: too much nitrogen. Add browns.
- Smell of rotten eggs: airless and waterlogged. Turn thoroughly and add coarse browns.
- Flies: bury kitchen scraps and cover every addition with browns.
Making a compact bin or bay work harder
Choose a lidded plastic bin with the base cut out, or build a pallet bay about a metre square with a removable front board so you can fork material out. Two bins or two bays side by side make turning far easier. For insulation, pack straw bales around the outside, line the sides with sheets of cardboard, or nest a smaller bin inside a larger one with straw in the gap. Keep the lid on, and position the bin where it catches the sun for most of the day.
Building it into a routine
Keep a lidded caddy in the kitchen and a sack of shredded cardboard beside the bin, so every time you add peelings you can add a handful of browns. Turn on a dry weekend morning, check moisture in summer, and add grass clippings in thin layers only. In warm weather you should have dark, crumbly compost in two to three months; in winter it will slow and finish by spring. Screen out any lumps and drop them into the next heap. Spread the finished compost as a mulch or fork it into beds, then start again — the second heap is always easier than the first.
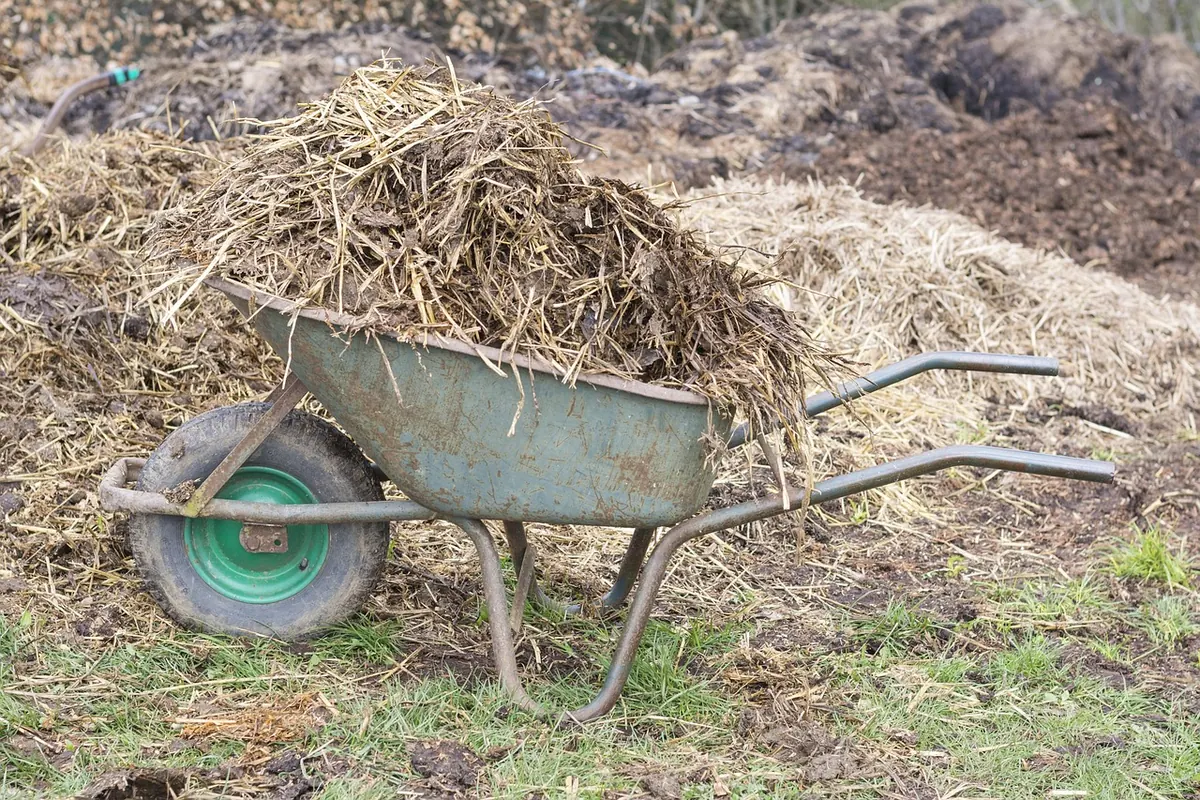
Photo: sabinevanerp / Pixabay

How to Cure and Store Onions and Garlic for Winter
Curing onions and garlic properly dries the necks and skins, so bulbs stay firm through winter. Here's how...
How to Grow Blueberries in Acidic Compost
Blueberries need acid soil to crop well. Here is how to keep the pH right in pots, water and feed them...